Completing Step 3 Option 2: Manual Data Entry
Description
Use this procedure either to submit a data feed or to edit an uploaded data feed.
Important: Data for all of your schedules will be replaced with the contents of the file you are uploading.
Procedure
- In the District Name or CDN box, either:
- Confirm the CDN that is displayed by default OR
- If you work with multiple schools, select the CDN to be displayed.

- Choose AFR. After completing Step 1: Entering Preliminary Information and Step 2: Uploading the Annual Financial Report, proceed to the Step 3 Data Feed Upload/Manual Data Entry page which enables the Continue with Step 3 button. Then click Continue with Step 3.
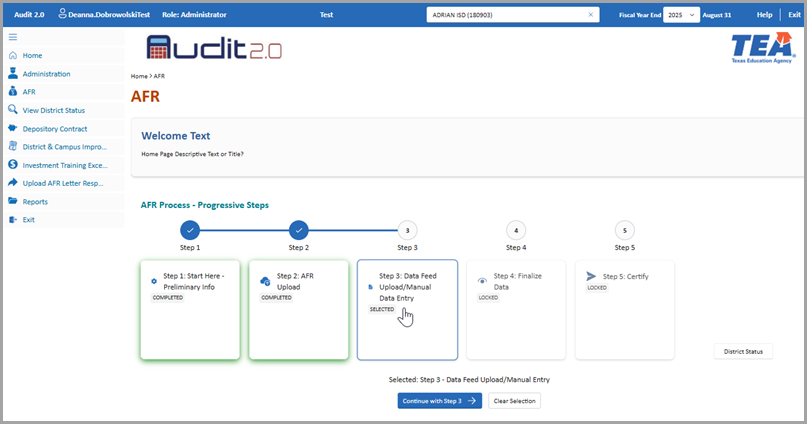
- On the Data Feed Upload/Manual Data Entry page, click Manual Data Entry/Edit of Data Feed.

- Proceed to the data schedule in which you need to enter or edit data. Using the Next button as needed to advance through the schedules, which are accessible in sequence.
- After completing the last schedule, click Next.
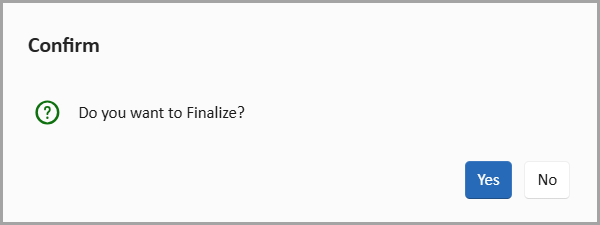
Note: After you click the Next button on the last schedule, the system displays the prompt shown below: "Do you want to finalize?" If you select Yes, the system locks Steps 1, 2, and 3 and prevents further editing on those pages. The completion of Step 4: Finalizing the Data Feed is required before Steps 1, 2, and 3 can be unlocked with the reopen process if needed.
See Also: Reopen Process
- In the confirmation prompt, click Yes to confirm that you want to finalize the data feed.
Data Schedule User Help
To view detailed instructions about completing data schedules, go to the Completing Data Schedules section in this topic.