Completing Step 2: Uploading the Annual Financial Report
Description
Use this procedure to upload a PDF of the Annual Financial Report. The report must be in PDF format as a searchable file without password protection.
Automatic File Naming
The system automatically names the uploaded AFR PDF file. The file naming format is outlined below.
- First 6 digits―County-District Number
- a―Or other appropriate alpha designation based on the file type
See the table below for a listing of the alpha designations.
| Alpha Designation | File Type |
|---|---|
| a | AFR (for public view) |
| cparpt | AFR Pages with Signatures (internal TEA use only) |
| l | L1 Schedule |
| mglt | Independent Auditors' Management Letter |
| df | AFR Data Feed File (for Step 3: Data Feed Upload) |
- ####―Four-digit fiscal year
- v#―v for the version of the file uploaded followed by the version number (examples: v1, v2)
- PDF―The file extension; this may also be a TXT file extension for the data feed file upload.
Examples
999999a####v#.PDF or 999999df####v#.TXT for data feed upload
Procedure
- In the District Name or CDN box, either:
- Confirm the CDN that is displayed by default OR
- If you work with multiple schools, select the CDN to be displayed.

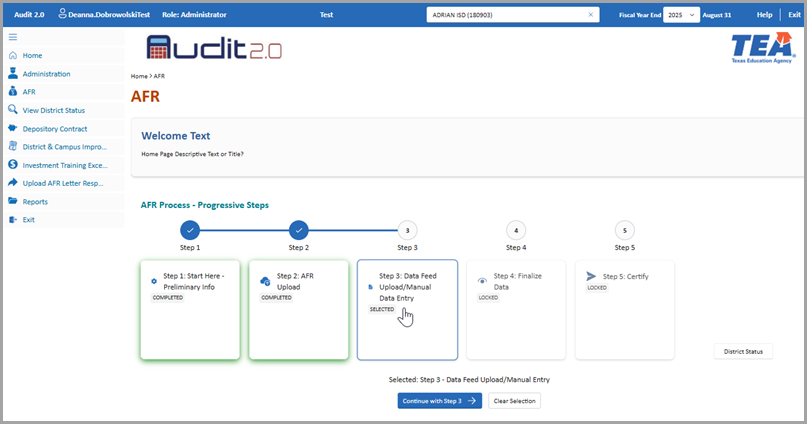
- Click AFR. On the AFR Process - Progressive Steps page, click Step 2: AFR Upload which enables the Continue with Step 2 button. Then click Continue with Step 2.
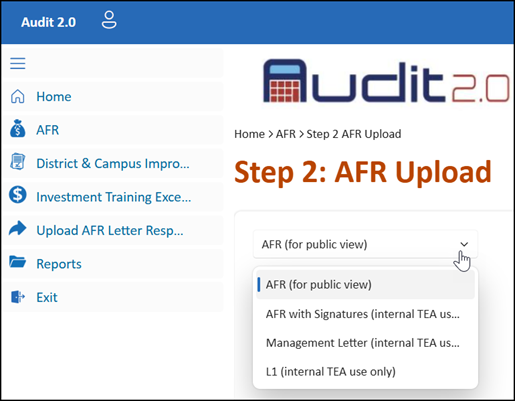
- In the Step 2: AFR Upload page, select the file type.
Note: If you are uploading a revised file, under the file type in the comments box, enter text explaining why you are uploading a revised file.
- In the file import area to the right, either drag and drop the file to be imported, or click browse to select the file location. Repeat this step as needed.
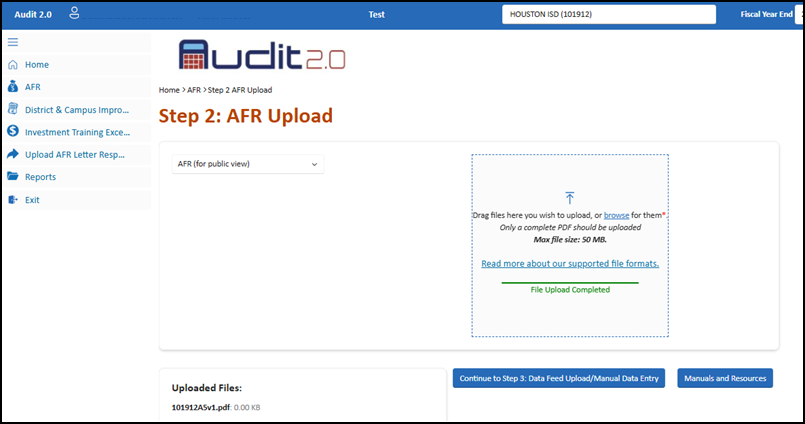
- Do one of the following:
- If the upload is successful, review the success message: Uploaded file(s). Click OK to close the message, and review the file name displayed at the bottom of the page. (Only files uploaded during the current session are displayed.)
- If the upload fails, review the failure message. Click OK to close the message.
Note: The system will send an email to your user ID stating whether the file upload was successful.
- Click Continue to Step 3: Data Feed Upload/Manual Data Entry.